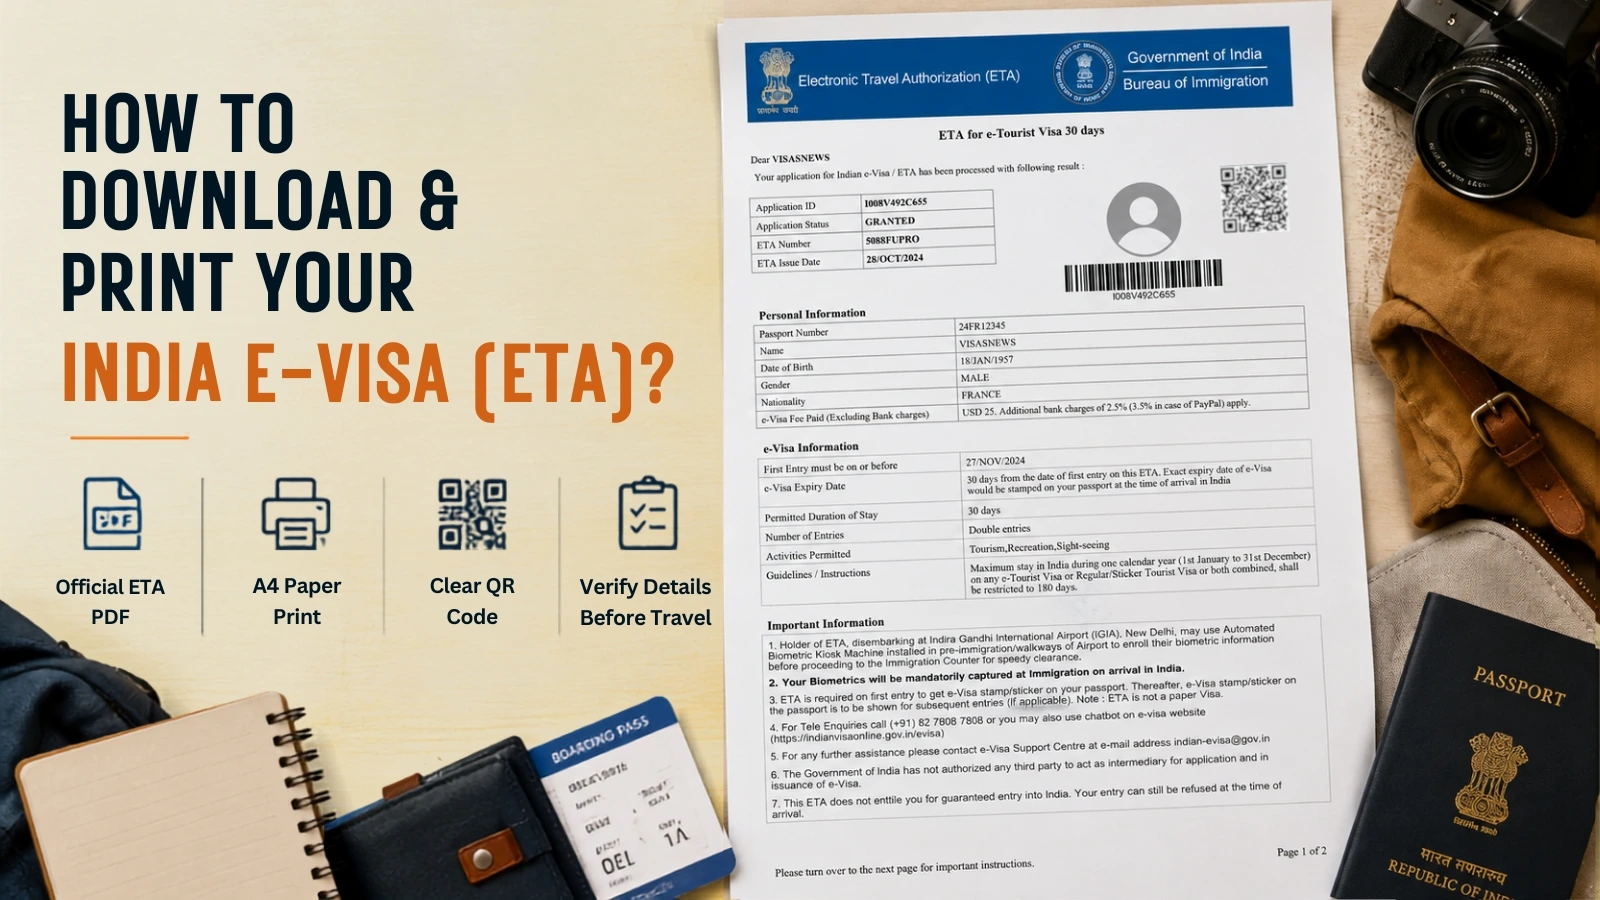
Getting the email that says your India e-Visa is approved feels like the finish line. It isn't. A surprising number of travelers arrive at check-in with nothing more than that confirmation email screenshotted on their phone, and get stopped at the counter, because that email is not the document airlines and Indian immigration are actually asking for.
The document you need is called the Electronic Travel Authorization (ETA), a separate PDF with your photograph, a QR/barcode, and your visa details, downloaded directly from the government portal. This guide covers exactly how to get it, what format it needs to be in, and the small mistakes that cause real problems at the airport.
Your Approval Email Is Not Your ETA
This is the single most important distinction in this entire guide, so it's worth stating plainly before anything else.
When your India e-Visa is approved, you receive an email notification confirming the grant. That email is useful to any of the eligible nationals of Canada, Singapore or Portugal that get their Indian e-visa approved. It tells you the visa was approved and gives you your application reference. But it is not the travel document itself. It doesn't contain your photograph, and it doesn't carry the QR code that immigration scanners are built to read.
The actual travel document, that is your ETA, has to be separately downloaded from the official portal after approval. Airlines checking documents at boarding and immigration officers at the port of entry are looking for this specific PDF, not your inbox.
How to Download Your India e-Visa (ETA)
Step 1 | Go to the official portal.
Navigate to official Indian visa website. Use this site directly rather than a link forwarded in an email, to avoid third-party pages mimicking the government portal.
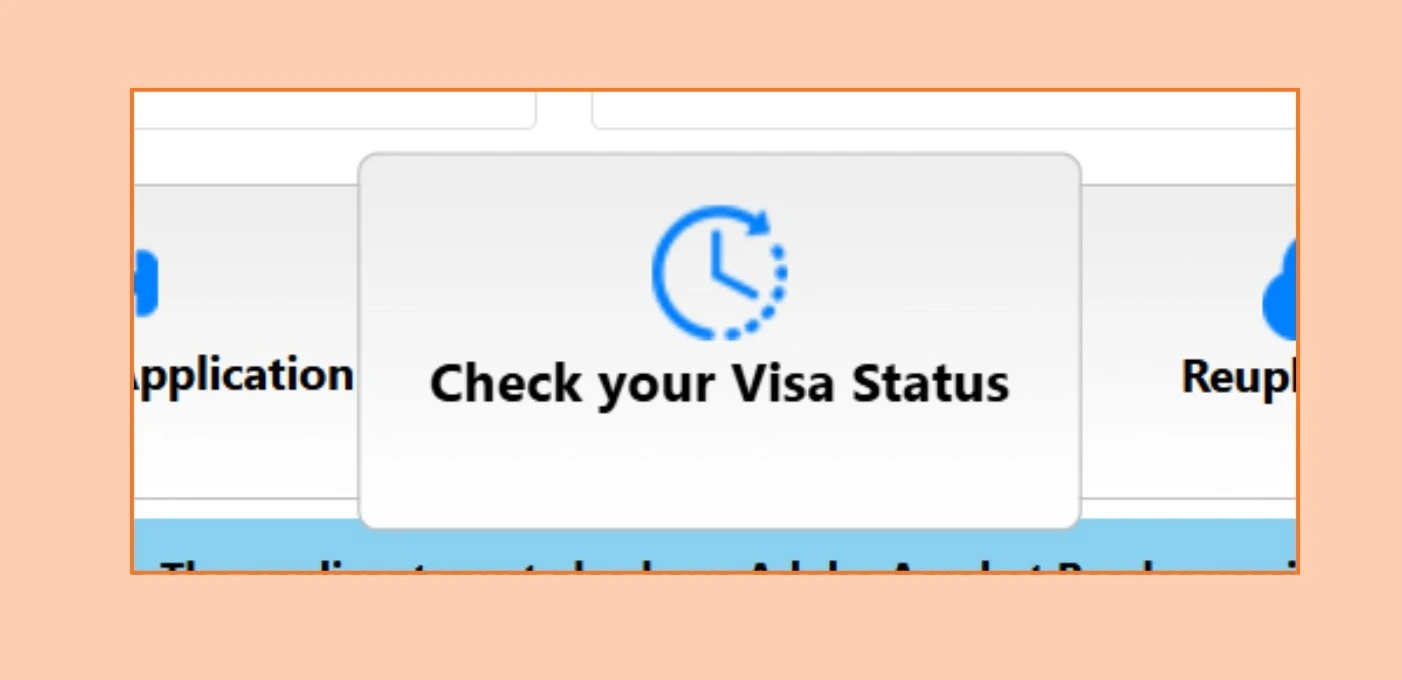
Step 2 | Find "Check Visa Status."
On the homepage, look for the "Check Visa Status" or "Visa Status Enquiry" link, usually in the top navigation or among the tile options on the main page.
Step 3 | Enter your details
You'll need two pieces of information:
- Your Application ID issued when you first submitted the application, and included in your confirmation and approval emails. Note that the ID typically starts with a capital letter "I," and any zeros in the sequence are the digit 0, not the letter O ( a common source of failed lookups ).
- Your passport number (or date of birth, depending on the specific lookup form version)
If you want to simply check your visa status without receiving your application reference yet, you can select for 'advanced status enquiry' where you may use your passport number and date of birth to know your India e-visa status.

Step 4 | Confirm status shows "GRANTED."
The portal will display your current visa status. Only when it explicitly reads GRANTED is your ETA ready to download.
"Under Process" or "Under Review" means it isn't ready yet.
Step 5 | Download and open the PDF.
Once status shows GRANTED, a download or print option appears. This produces the actual ETA document — one page, showing your photograph, passport details, visa category, validity dates, and a QR code or barcode.
Step 6 | Verify every detail before you print.
Before printing, check your name spelling, passport number, visa category, and validity dates against your actual passport. If anything doesn't match, do not travel on this document; contact the e-Visa support centre immediately.
What Format Do You Actually Need?
This is the part most guides skip past too quickly, and it's the part that causes avoidable problems.
✅ File format: The ETA downloads as a PDF. Keep it in this format, don't convert it to an image file or paste a screenshot into a document, since this can compress or distort the embedded QR code, making it unreadable by scanners.
✅ Paper size: Print on A4 paper. This is the size the layout is designed for; printing on smaller paper (like US Letter, which is close but not identical) can occasionally cut off elements near the page edges depending on your printer's scaling settings. Check "fit to page" is enabled, not "actual size," if you're using a non-A4 printer default.
✅ Color vs. black and white: Color printing is preferred but not strictly mandatory. Black-and-white prints are generally accepted, provided every piece of text, your photograph, and the QR code remain clearly legible. If your printer's black-and-white setting produces a washed-out or low-contrast QR code, switch to color or a higher print quality setting.
✅ Print quality: Use a proper printer rather than photocopying a photocopy. The QR code is a high-density barcode. Low print quality, smudging, or scanner glare on a poor-quality print can cause it to fail a scan at immigration, even though the underlying data is technically correct.
✅ One copy per traveler: Every individual traveling, including children and infants needs their own separately printed ETA. Each one is tied to an individual passport and must be presented on its own, not as a shared family document.
Digital Copy vs. Printed Copy
Some travelers ask whether showing the ETA on a phone screen is enough, given how much of the rest of the e-Visa process is entirely digital.
The honest answer: while some travelers have reported being allowed through with only a digital copy, this is not the reliable standard, and it is not something to plan around. A dead phone battery, a cracked screen, poor signal preventing the file from loading, or an immigration counter that specifically requires paper are all realistic risks on travel day. The consistent, official guidance is to print a physical copy and carry it alongside your passport, with a digital copy on your phone as a backup, not a replacement.
Common Mistakes When Downloading and Printing
Relying on the confirmation email as your travel document. As covered above, this is the most frequent and most serious mistake — the email is not the ETA.
Waiting until the day of travel to download it. Download your ETA as soon as you receive the approval notification, not the night before your flight. The portal occasionally experiences high traffic or technical slowdowns, and troubleshooting a download issue with hours left before a flight is a stressful and avoidable position to be in.
Not double-checking details before printing. If your name, passport number, or visa dates are incorrect on the downloaded ETA, this needs to be resolved with the Bureau of Immigration before you travel — not discovered at the airport. Do not travel with an ETA containing errors; you risk being refused entry regardless of how minor the mistake looks to you.
Printing on the wrong paper size or in poor quality. A distorted or illegible QR code, even if caused innocently by printer settings, can cause delays at the immigration counter while officers verify your details manually instead of scanning.
Assuming an expired ETA can be reused or extended. If your ETA has expired before you travel, you cannot download or reuse it — a new eVisa application is required from scratch, with a new non-refundable fee.
Not applying for each traveler separately. Since every traveler — including infants — needs their own ETA tied to their own passport, downloading only one copy for a family group and assuming it covers everyone is a mistake that surfaces at check-in, not before.
What to Do If the Download Isn't Working?
If the portal isn't loading, the ETA download fails, or the page times out:
- Clear your browser cache and cookies, then try again
- Disable pop-up blockers, which can interfere with PDF downloads
- Try a different browser
- If the issue persists, wait a few hours and try again — this is often a server load issue rather than a problem specific to your application
- Check the email address used in your original application; some confirmation flows include a secondary download link as a backup route
If none of these work and your travel date is close, contact the eVisa support centre directly rather than waiting further.
How IVC assists in getting your ETA right away?
IVC Visas helps in getting started with your Indian e-visa to getting ETA in your inbox.
- All you have to do is provide information, documents and cooperate with us till we fill the official Indian e-visa application.
- IVC reviews your documents also, checking all the technical requirements including format, file size, clarity and other specifications.
- After the Indian visa is submitted, we provide you with the application ID to track your application.
- You can check your visa status by yourself, or IVC can check for you.
- Once the India visa is approved, we download the ETA and hand it over directly in your inbox.
So, what you are waiting for? Start with your India visa journey with IVC visas!
Learn about India visa essentials while you plan your itinerary.
Contact IVC if you got any queries!
Disclaimer: IVC Visas is an independent visa service provider. We assist with application preparation and submission to official government portals. Final visa approval decisions are made solely by Indian immigration authorities. All information is based on current regulations as prescribed by the Government of India, which may change. Always verify the latest requirements before travel.